ISOP device management can display information about the underlying NSFOCUS devices that are connected to the interface. The NSFOCUS devices that can be integrated include RSAS, BVS, WVSS, WSM, NIPS, WAF, NF, NIDS, NTA, SAS, and UTS. The displayed information includes device name, device IP address, device type, status, version, certificate status, memory, CPU, disk, CF card, as well as the ability to perform related operations on the devices..The configuration entry is [Configuration—Device Management].You can view the details of the displayed equipment.
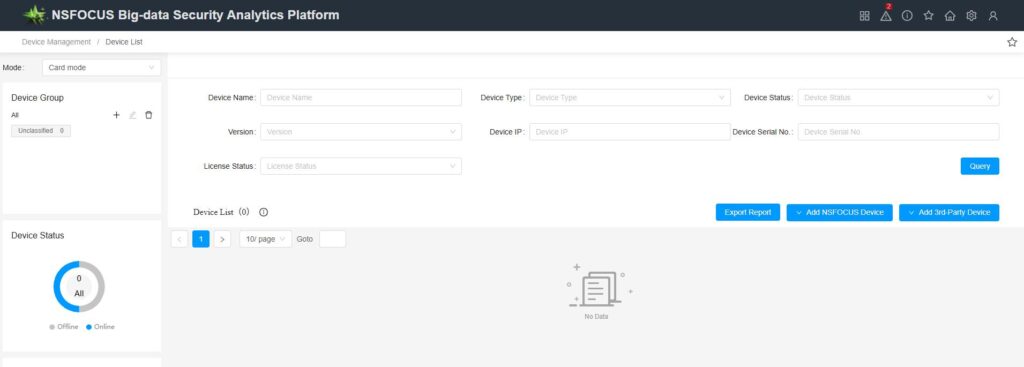
Note: Whether the device is online or not does not affect the ingestion of device traffic or threat logs from the data source (heartbeat and logs travel through separate channels; even without adding device management, device logs can still be ingested).
Device Addition
In device management, there is a concept of “device groups,” which represent logical classifications of devices. Devices can be added to different device groups. ISOP supports creating, editing, and deleting device groups. The default top-level device group is “Uncategorized.” Additionally, ISOP supports multi-level device group management, allowing up to two levels of nested device groups. However, each device can belong to only one device group.
Device addition can be categorized into active, passive, and offline methods. The following outlines the characteristics of each addition method.
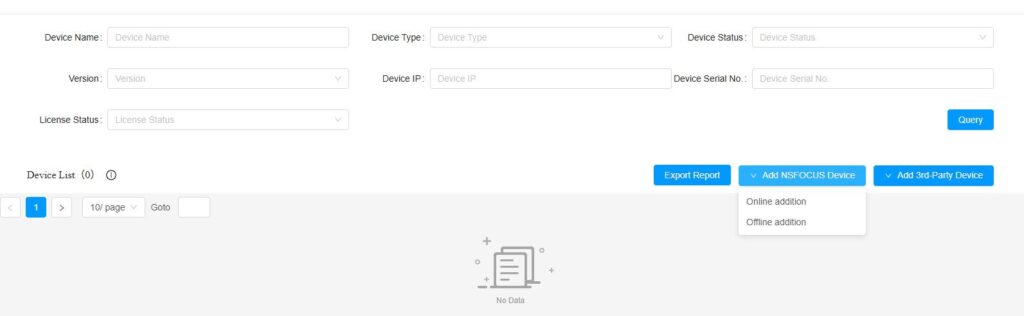
1. Add manually
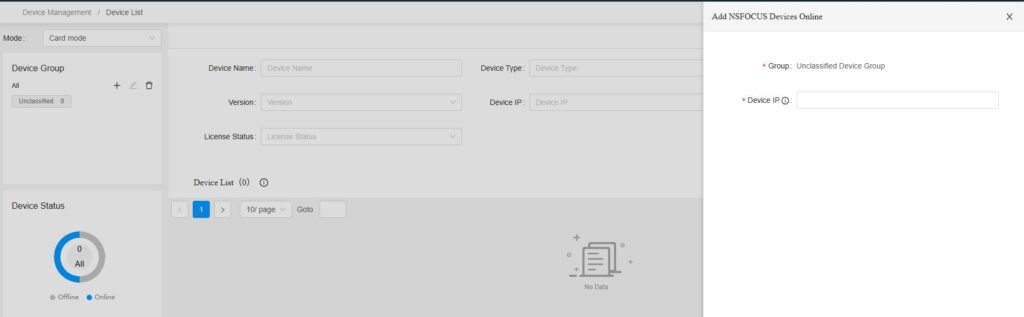
After selecting the corresponding device group on the interface, click Add Device. The platform uses REST Message after the device is notified, it registers on the platform, and when added, the platform will verify whether the device is online.
2. Passively added
The device actively registers with the platform by filling in the platform information in the device’s “Enterprise Security Center.” The device calls the platform’s /api/v1/devices interface to register its basic device information and then saves the platform’s response in the configuration file. The response contains information about the corresponding security log channel, status log channel, and command channel. After that, the device can start reporting logs. Typically, when configuring interconnections, once the Security Center is configured, both the device registration with the platform and the device’s log transmission to the platform are completed simultaneously.
3. Add offline
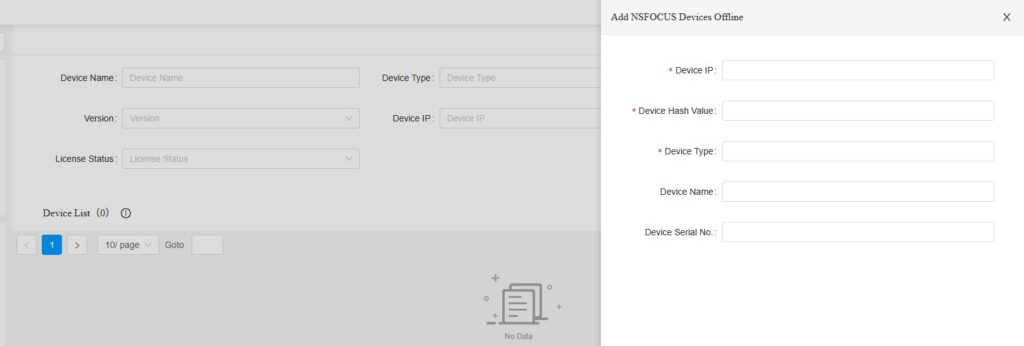
Click the [Add Offline Device]” button, enter the device name, IP address, hash, and type, and the device information will be stored in PostgreSQL. If the device itself is not active, it will be added to the default device group.
Configuration Example
Add manually: After selecting a device group and setting the IP address, the platform will verify whether the device is online. If it’s online, the device will be added.
Offline addition: The system will not check whether the device is online. Simply enter the device’s IP address, hash, and type to add it directly.
Passive addition: Enter the IP address/port of the ISOP in the device’s Security Center and initiate registration.
Precautions:
1) In addition to the ports required in the document, when integrating with ISOP, the device will probe whether ISOP’s port 443 is reachable. At the very beginning of the integration process, the device will establish a connection to ISOP’s port 443. Once the integration is successful, the connection to port 443 will be deleted.
2) After a device actively registers with the platform, if you delete the connection to ISOP on the device itself, the device won’t immediately go offline on the platform. However, monitoring data such as CPU and memory usage will no longer be updated, and the device will eventually go offline after a certain period—approximately 10 minutes.
3) After a device is actively registered, if you delete the device on ISOP, you can still re-add it to ISOP in an active manner.
Here are several configurations for device interconnections. All of the following configurations involve initiating connections from the device side and registering the devices with the platform (note that due to differences in the underlying device interfaces and configurations across various versions, the screenshots below are for reference only):
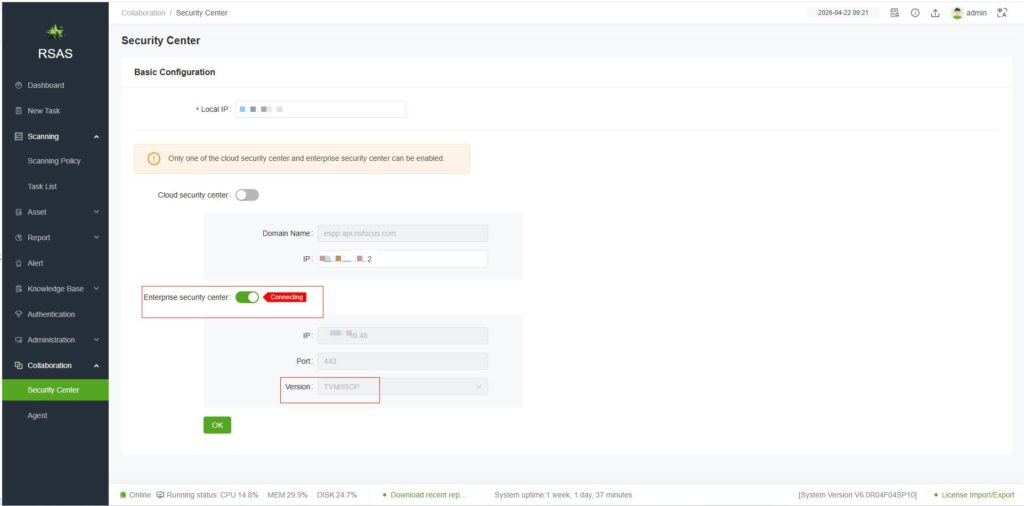
RSAS [Collaboration—Security Center]
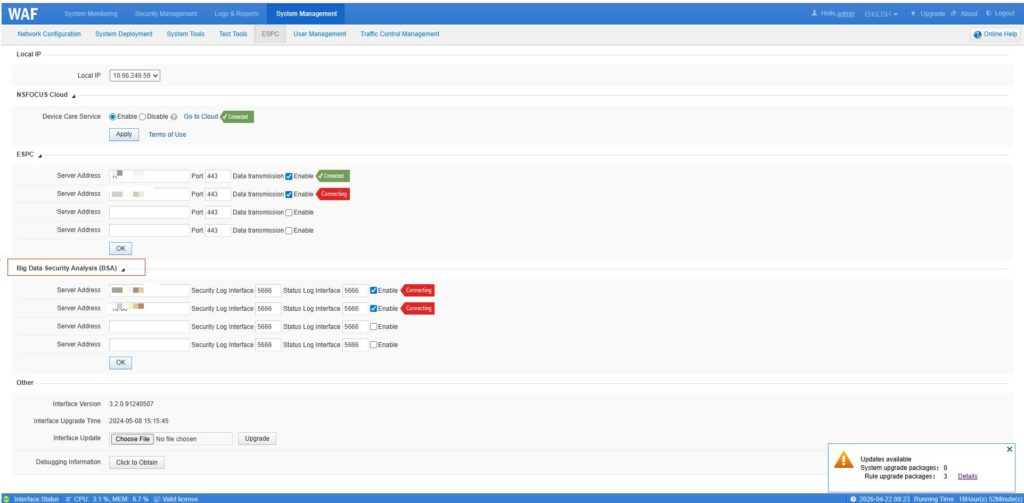
WAF [System Management—ESPC—BSA]
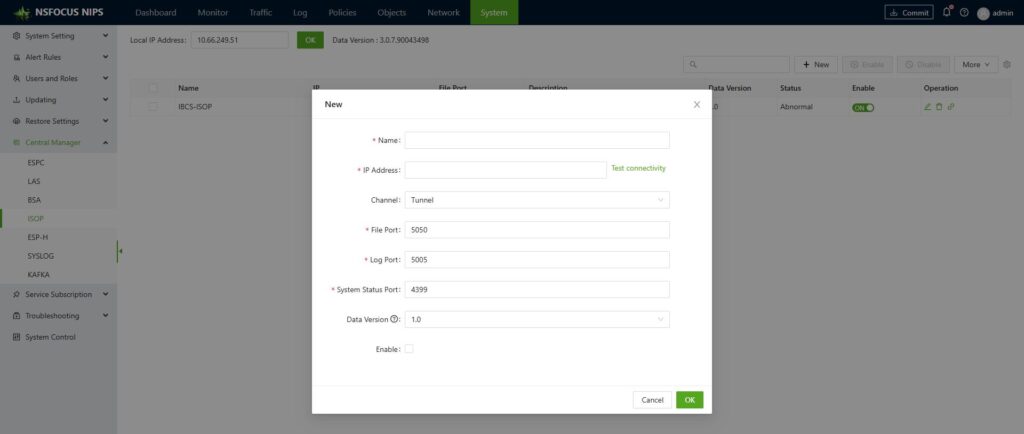
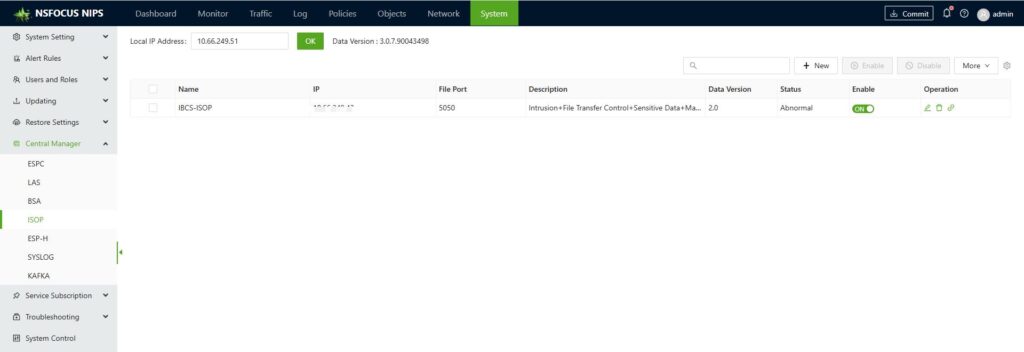
IPS [System—Central Manager—ISOP]
Joint Troubleshooting
When the device-side display shows a linkage failure, you can troubleshoot step by step according to the following procedure:
1. Check whether the ports on both devices are listening. For example, when ISOP and UTS are linked, ports 4399, 5011, and 5050 on ISOP must be listening normally. The command is: netstat -apn | grep xxxx.
2. Ensure that the ports at both ends are properly open. Special attention should be paid to ensuring that port 443 from the device to ISOP is accessible (if you don’t need to use features such as blocking or pcap-based forensic analysis, you can disregard these ports). The command for probing the port is: telnet x.x.x.x yyyy.
3. If all port tests are successful, you can delete the corresponding device from ISOP device management (no need to perform this step if the device does not exist). On the device, temporarily disable the connection to ISOP, then restart the A interface of ISOP [southbound management—NPAI log collector—restart]. If integrated with UTS, you can restart the UTS engine [System—System Control—Restart Engine], and then re-initiate the connection on the device.
4. If the above methods don’t work, you can try checking the logs in the IOSP backend—specifically, /opt/nsfocus/NPAI/logs/hekad.log—to see if there are any obvious error messages (such as “address unreachable” or “port unreachable”). Alternatively, you can check the device’s backend log file, /etc/espcmonitor.log, for any error messages.
Following the aforementioned process can generally resolve most linkage issues. Many linkage failures are found to be due to port issues upon investigation.