This article will introduce how to use Region User to log into Portal on ADSM and achieve permission control among different accounts. Due to different versions, the screenshots in this article may be inconsistent with the webpage of your device, but the functions can still be used as a reference.
Why Use Region User?
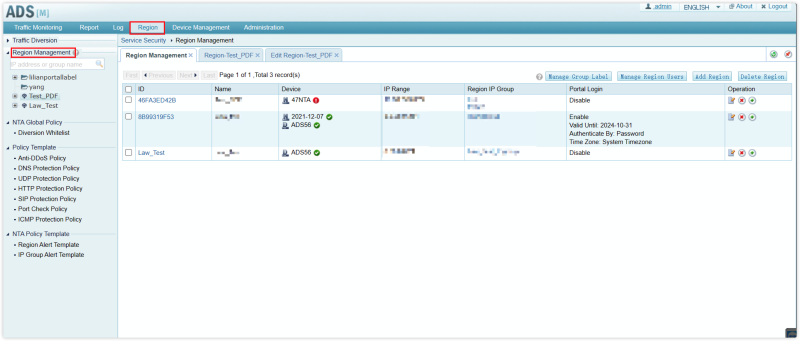
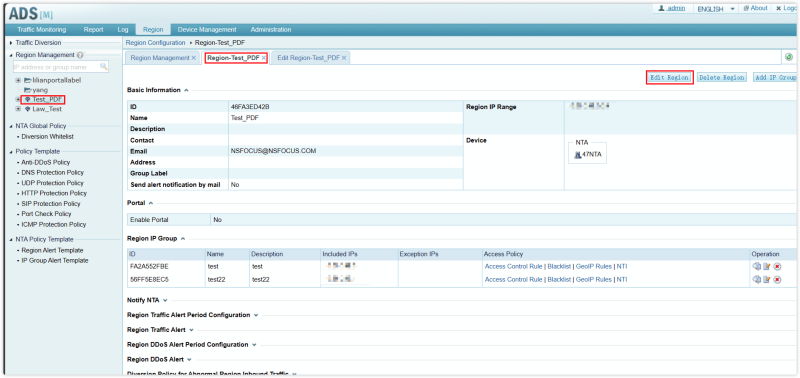
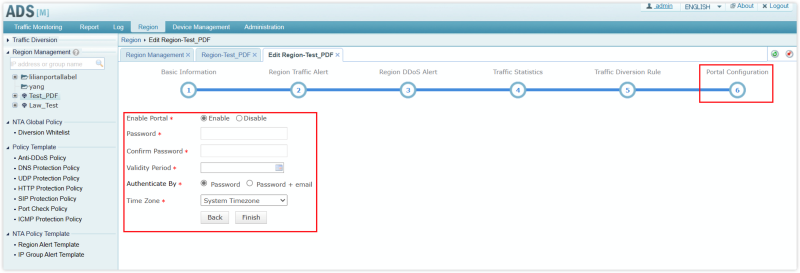
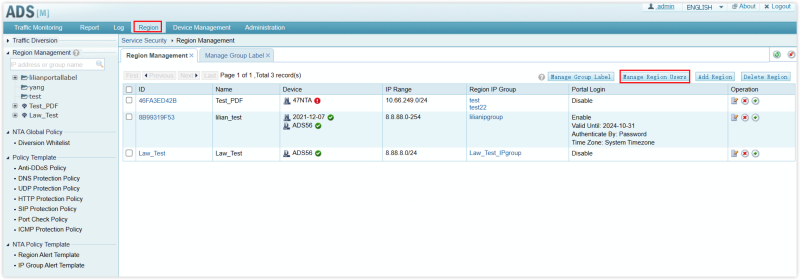
In the Region management webpage of ADSM, there is a switch to enable the Portal of the corresponding Region. When the switch is turned on, you can use the Region ID to log into the corresponding Portal webpage to view relevant data. You can find the switch in Region -> Region Management of ADSM, select the Region you want to edit, and then see the corresponding option in Edit Region -> Portal Configuration of the Region webpage.
After opening the Portal by this method, you can directly use the Region ID to log in to the Region. However, the Portal logged in by this method does not have policy management functions.
By logging into the Portal through the Region User method, you can manage the permissions of each user account and also achieve multi-tenancy.
Log in with Region User
- Add Group Label
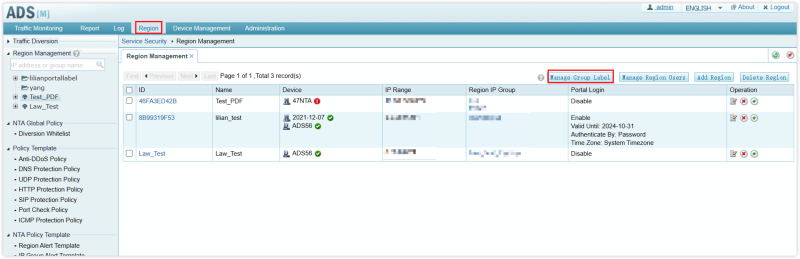
First, you need to add Group Label in the Region of ADSM. You can add it in Region -> Manage Group Label.
In the Manage Group Label webpage, click Add Group Label.

In the pop-up dialog box, enter the Group Label information and click OK to save.
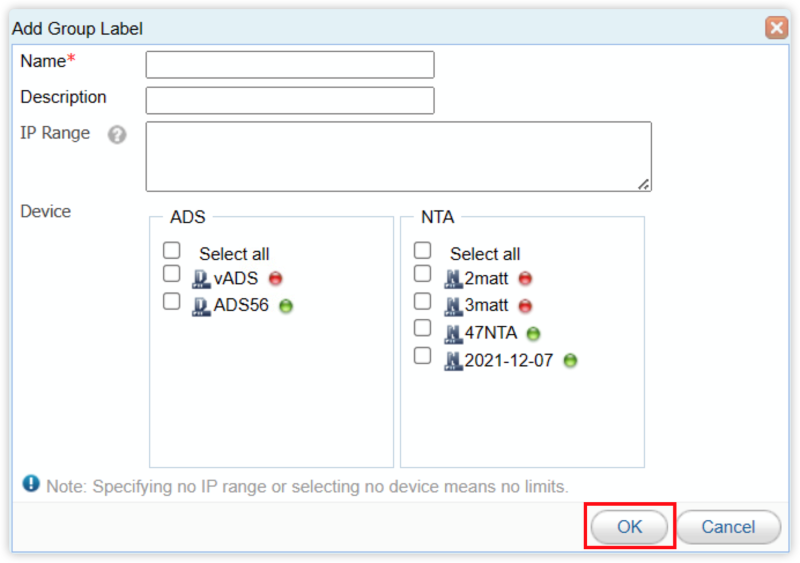
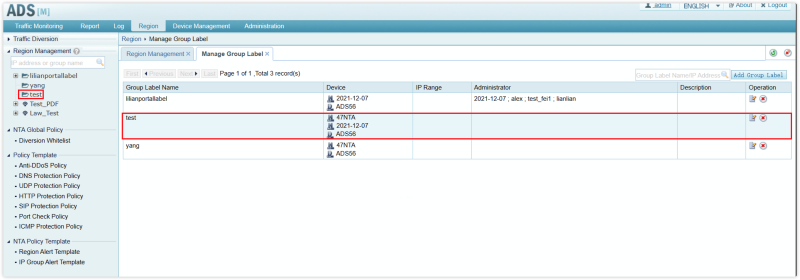
Here we create a Group Label named ‘test’ and select the corresponding ADS and NTA. At this time, a Label named ‘test’ will appear in the left sidebar.
- Create Region User
Next, create a Region User. You can create and edit Region User in Region -> Manage Region Users.
In the management webpage of Manage Region Users, click Create Region User to create a Region User.
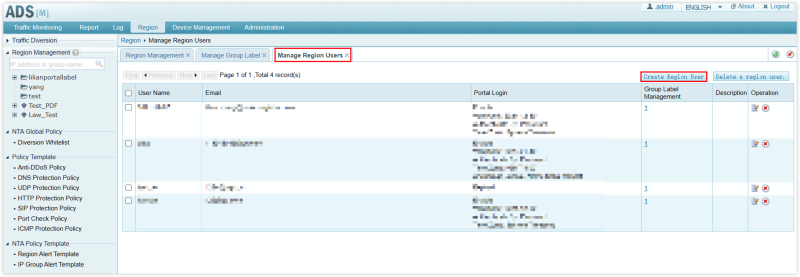
In the pop-up dialog box, we can control whether the User has Portal functions. If you need to open the Portal function, select Enable in Enable Portal, fill in other information, and click OK to save.
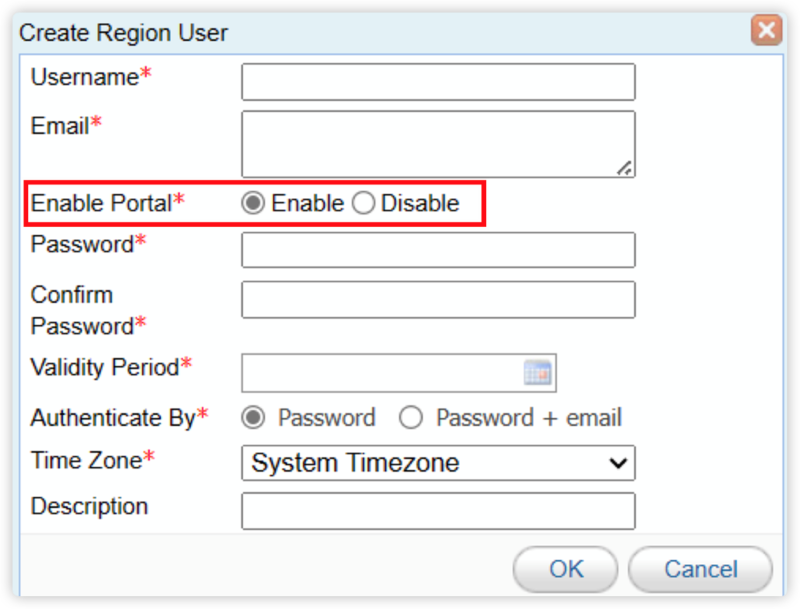
Here we create a User with the Username ‘nsfocus_test’ and enable the Portal function.
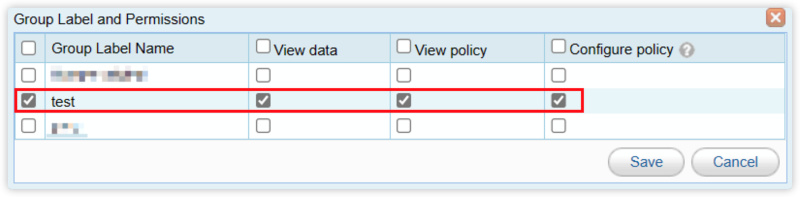
In the webpage after creation, click Group Label Management corresponding to the User to enter the Group Label and Permissions management webpage. In this webpage, you can control the permissions of the corresponding account. For example, we can grant the ‘nsfocus_test’ account all permissions of the test group label. In this way, the User ‘nsfocus_test’ can view all data and policies of the test group label and can adjust the policies of the group label.
- Assign Group Label to Region
Add the Region that needs to be managed through this Group Label to the Group Label. You can find the assignment information on the homepage of Region -> Edit Region.

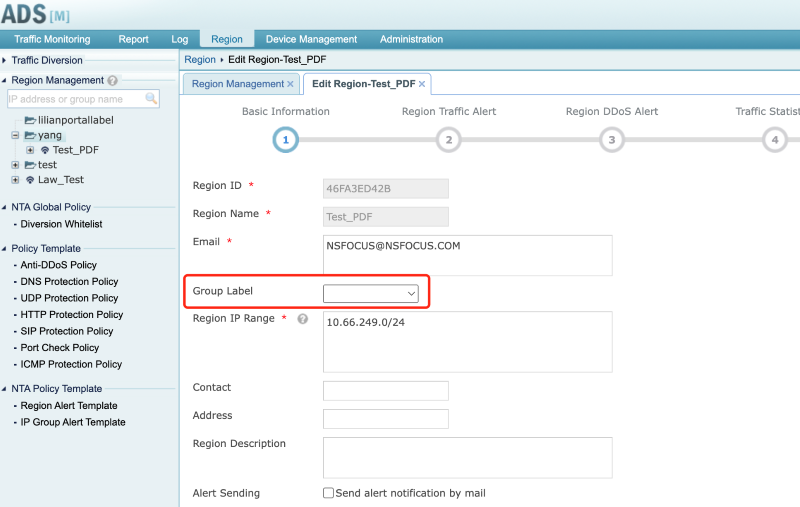
By selecting the corresponding Group Label, you can add the corresponding Region to the Group Label, which also means that the Region User created in the above steps can log into the Portal and have permission of this region.